
I’ve been really into making pinterest boards for years now. Recently, I started printing pics and making them into mood boards to decorate my room, so I thought it’d be fun if I talked about a really fun hobby of mine!
part 1: the supplies
- First off, you gotta decide where you’ll be displaying your mood board/collage/inspo board/whatever.
For example: I’m hanging mine on top of my desk in my room, so I measured that space and got a foam board that size.
If you don’t have a specific place in mind, you could purchase any size base and crop it to your liking later using a kitchen knife, large scissors or paper cutting knife depending on what your base will be.
Speaking of, there are a lot of options when it comes to the base you’re gonna use:
- cork board
- foam board (warning: they curve a little because of the glue, but you can use paperweights or any heavy object to fix this)
- canvas
- chart
These are just some examples, I’m sure there are others I don’t know of, so you can use whatever you prefer! Now, the rest of the supplies you’ll need are:
- scissors
- white glue (also called ‘modge podge’) *
- foam brush **
- base (canvas, etc.^)
*you can make this at home, just search youtube tutorials
**you can also buy single use gloves at any pharmacy instead, that’s what I did
part 2: collecting material
Now for the fun part! Finding the material that you want on your board.
- Go through your house, find old magazines, newspapers, cute wrapping paper, perfume boxes, etc. My go to is obviously Pinterest! You can find anyyyything on there.
If you like the ones I made, you can find inspo for your board on my Pinterest: @whyaminotrichyet.

You can also find ready-made collages that you can print and stick to your base on there and you’re ready to go!
But to me, finding the pictures you like is part of the fun, so if you’ve decided to do that too, here’s how I recommend you do it:
- I start out by going through all my Pinterest boards and picking out the images that I really like and want to print out. I also add those into a separate, private board.
- Then I go through that board and sieve through it (deleting the ones that I decided against).
Make sure to have a good ratio of:
- pretty quotes
- pictures with faces in them
- pictures of bags/shoes
- pictures of celebrities
- pictures of outfits you like
- pictures of landscape/view
Now you have your favorite pictures!

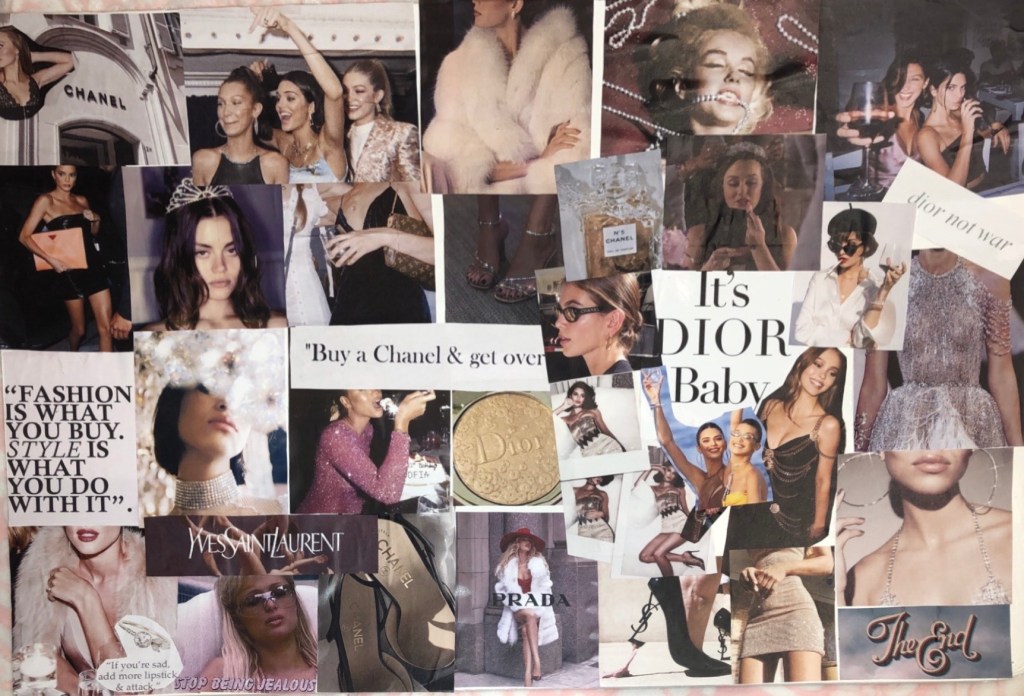
A good idea I like, but haven’t used yet, is using newspaper as a background and sticking pictures on top of it. This is instead of sticking the photos super close together and hoping none of the plain, white background is poking out. I got that idea from this collage on the left.
If you decide against this, then you wanna make sure you have enough quotes to bring the collage together.
step 3: organizing your pictures
Don’t make the mistake of thinking the next step is printing your findings right away! If you do that, you’ll find yourself with 50+ A4 sized pictures and no ink left in your printer to correct the mistake.
- Open a word or pages file (or whatever you have on your computer)
- Start manually organizing you pictures to the sizes you want the to be
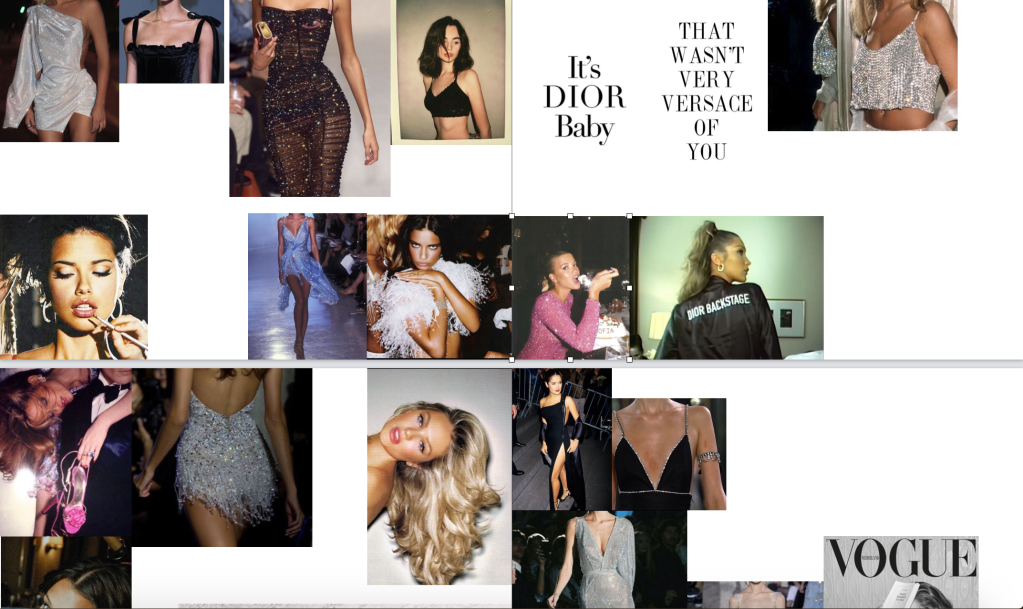
Here’s how I organized some of mine:
You can also find a collage-making app to enter your photos into and skip the hassle. But, I don’t really trust nor recommend going with this method.
- When you’re done with that, all that’s left is printing, and you’re ready to go!
I don’t want this article to be even longer than this, so my tips for the practical half of making a mood board will be continued in part 2!
Hopefully this was helpful to you! ❤
